Well, I was so excited about the fabulous cream I made last night that I wanted to share it with you pronto! And then….something was nagging at me….like….didn’t I blog about that before?
YEP. You can read how I did it here. So I guess that makes this post “Part Two”.
But…seeing as how I took pictures (again), and the recipe is different, here is another way to save a load of money. Honestly, have you seen how much those (chemical and preservative and who knows what else) creams cost at the department store?! Making your own facial/skin cream at home gives you control over the ingredients, and you can play with different recipes to make something that suits your own personal skin.
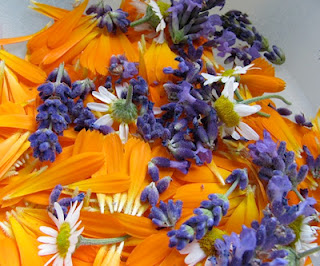
The first thing I did was pick herbs from my garden last summer. I chose calendula, lavender, and chamomile, all very good flowers for skin care. I let them wilt a bit to lessen the water content. Aren’t they beautiful?
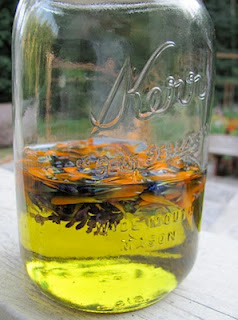
Then I infused them in a jar of oil for (umm….) a month or so. I used what I had on hand at the time: almond oil (that I typically use in the morning on my face straight), grapeseed oil, and azulene. Azulene is the oil made from chamomile flowers; it’s a real pretty blue. It comes in my waxing supplies (ouch!) and I always have extra oil left so I save it for making beauty products with.
When I was ready, I strained the flowers out and had a lovely blue-green oil that I kept in a dark cupboard until I was ready to use it. It smelled very nice.
To start, keep in mind some simple formulas:
To make a salve: 1 cup oil (volume) to 1oz beeswax (weight).
To make a cream: same but blend with 6TB liquid.
To make a lotion: same but blend with even more liquid.
So, logically, I *could* have made a salve first, then blended a bit of liquid into the rest. Make sense?
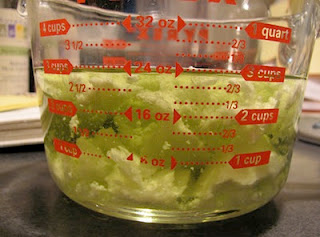
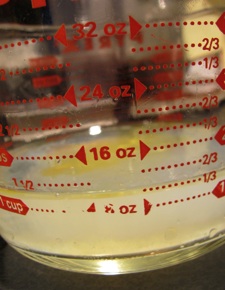
I wanted an easy formula, so I added more oils until I got to 3 cups. You can see here I added shea butter and coconut straight to the measuring cup. I had these already on hand, which was a *yay* moment for me because shea is so expensive I about never have that on hand. There are all kinds of oils you could use, like olive oil, too.
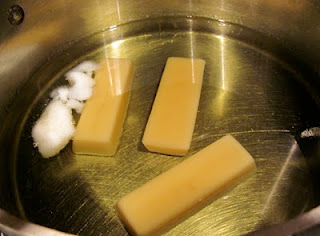
I melted all of the oils, and 3oz beeswax (remember, 1 cup oil to 1oz beeswax) into a pan on the lowest possible setting. I didn’t want to cook my oils! Just gently warmed until everything melted.
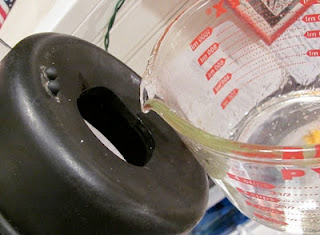
At this point, I had a salve mix, but I was going for the cream. So while that pot was melting away, I prepped my liquid. I used 1 cup plus a couple of tablespoons worth. In here I put some orange water, aloe vera gel, and distilled water. I popped open 1500IU worth of vitamin E and 30,000IU of vitamin A (I’m sure I could have put more!). I also added 48 drops of rose essential oil. I usually figure
16 drops of essential oil per cup of oil. More or less. Are you getting that this is not a “perfect” formulaic recipe?
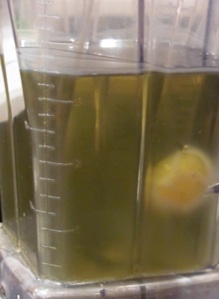
Once the oils/beeswax was melted, I put it all into my blender. I decided to throw in a half tablespoon of lanolin; that is the *glob* you see there. I waited until the mix came to room temperature(ish), and of course by then my lanolin was melted too.
Now was the time to get busy, otherwise I was going to end up with a blender full of cooled and hardened SALVE and how would I dig that out? So, while the blender was going at full speed, I slowly added in my liquid mixture. It whipped up just like making mayonnaise.
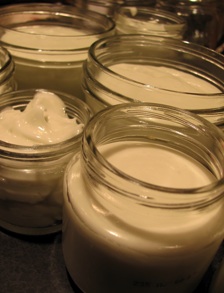
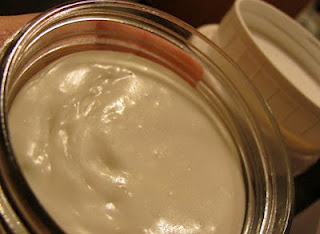
But the work wasn’t done until the cream was poured! If you don’t work quickly, it will solidify in your blender (but at least you’ll have a really great story to tell). You can see in the photo that the jar on the left was one of the last ones poured; see how it’s cooling quickly?
Let me tell you what. This stuff is amazing. It initially felt a little greasy going on but within the half hour it had soaked into my skin. As I type this my hands are baby-soft. I plan to use this on my face at night, but I might just have to use it on my hands and feet too! I loved that I had so many odds and ends from other projects and could just recycle them into one product, too.
If you make this, be sure to clean out your blender quickly. I added hot-hot water, a drop of dishwashing liquid, and a splash of vinegar and blended. It came clean.
This post was featured on:
Blessings (and beauty!),



You are certainly one crafty woman! As I don't currently have a garden or even know where I could get those items you mentioned, I am in awe of what you created. Continued success and blessings with your crafty hands!